Joe's Peacock, Teamwork and the Gift of Mosquitos: Part 1
Situation: my hubs Joe had to travel to Hawaii for work. I had to come along because… well… because I had to come along. Seriously. This is Hawaii we’re talkin’ over here! Mostly he worked. I photographed. But we did manage to have one day to go out together and do some shootin’ around and about the island. One of our stops; Byodo-In-Temple, over in the Valley of the Temples Memorial Park. Sidebar on that spot: TOTALLY worth it, but bring bug spray! I got swarmed by mosquitoes over by the creeky areas and finally had to make a run for it and hide out back in the car. (where I processed iPhone pics with Snapseed. I mean, why let a few venomous insects slow you down?) When the resident peacock made a show back the temple, Joe texted and said I should come photograph it. I said “NO!… but take one for me!” So he did:
 Of course, this is kind of starting at the end of the story. A tale which gets a bit lengthy, (of course, by this I mean juicy, info-laden, thrills ‘n chills aplenty, heretofore never-before-seen), so I’ve broke it into two parts. I’ll post part two tomorrow. That said, this photo didn’t start out as you see it above. It’s Joe’s photo, but he asked me to process it and teach him stuff along the way. So we spent a fun couple of hours talking through one way of approaching it. It took into account the subject, a couple of issues it had and the vibe we both wanted. When I told him I wanted to make a blog post about our little co-post-processing session, he was concerned that the image wasn’t perfect enough. Silly wabbit; that was exactly why I wanted to do it! Because we all have photos that are super cool and worthy of processing – which perhaps includes something about them isn’t exactly perfect. Do you throw it out? No, you work with it! And who knows, it might even turn out more interesting than you imagined it would!
Here’s where it started (JPG from original RAW, which he actually bracketed. I choose the lighter exposure):
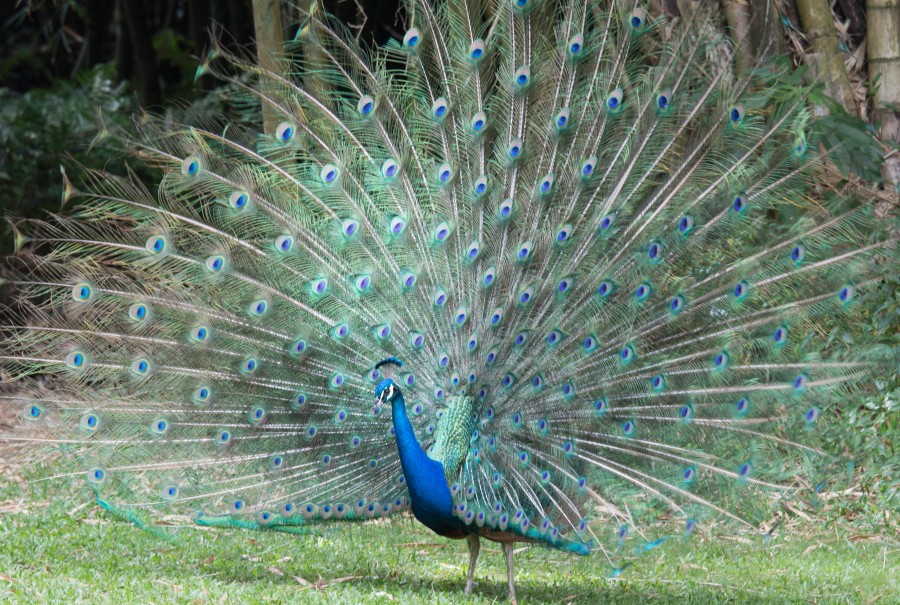
The biggest issue this photo had it that it’s not 100% crispy sharp. He did that thing we’ve ALL done (I know I have!), where he was shooting a scene auto-bracketed at 100 ISO… then ran over when the peacock strolled into view and feathered up, forgetting to up the ISO a bit. I’d bet 200-400 would’ve done the trick in this case, given light and bird movement. Hence, the focus was soft.
But that’s totes OK – it’s still such a pretty picture and definitely worth processing. You might think you’d want to sharpen a soft image. But IMO, creating definition with contrast and depth works better in many instances than sharpening, so that’s where we started. I wanted to use Photoshop, since I wanted to work with layers. He has Photoshop Elements 11… I use Photoshop CS6. We both have NIK Software and onOne Software, so I made sure I only did things he could reproduce on his system. First stop: a black Color Adjustment layer in Photoshop, blended in Soft Focus mode:
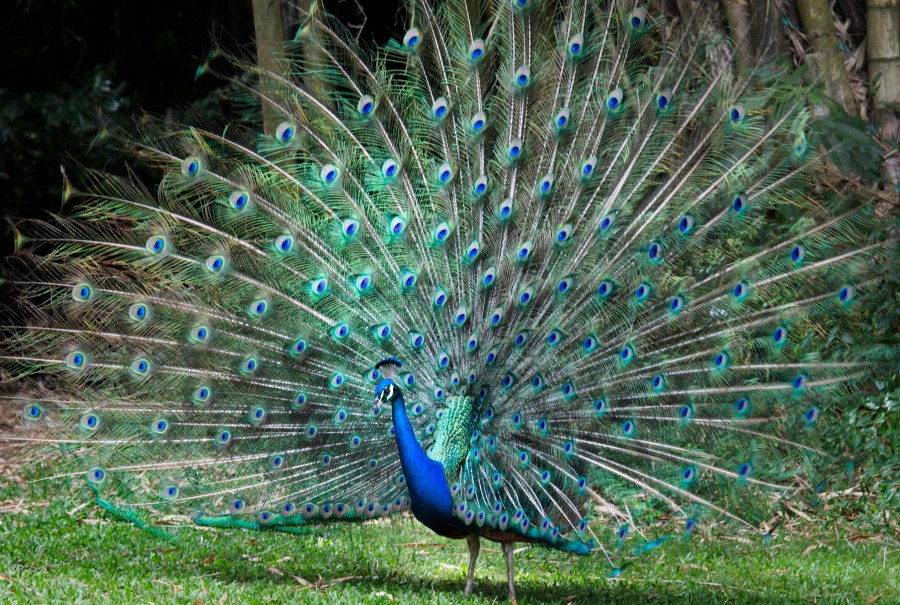
I did this to add some depth/blacks to the this image. You might think using Contrast would do the trick – but that brightens the highlights, which I didn’t want. I wanted was more black where the blacks belonged and nothing else. I use this technique alot, although I often selectively brush some of it away. In this case, however, we left it as-is.
Neither one of us were fond of the grass, leaves and messy background – but I wanted to focus first on the bird and his feathers only at this point. I knew we could take care of the rest further down the line. See that shaft of light on the left side? That was in the photo itself and it made me want to really focus on playing with light and dark. I thought leaning toward a more fanciful vs. strictly realistic approach for the final image would work nicely – especially given the softer focus. I like to have some kind of idea/direction/vision that drives me – and Joe liked this idea too.
NIK Color EfexPro 4 has a filter called “Midnight”, which is super fun to work with. When you first look at it, you can think it’s way too bold a choice… but it’s what you can do by brushing parts of it AWAY that makes it so cool. So I chose Midnight and the “Brush” option. When it opened in PS, I chose “Fill” – which applies the effect globally. It looked all dark and blurry and moody at that point. But I was about to spotlight that cool shaft of light – at the same angle and line it occurred naturally. So I selected the Gradient Tool/Reflected Gradient option, set the Opacity for 55% or so, drew the line back at a 90 degree angle to the line I wanted create and let it go. Poof! A nice line through the mysterious darkness.
Next, I switched to the brush tool and selectively brushed away the effect; trying to highlight the variations in color and light that I liked:
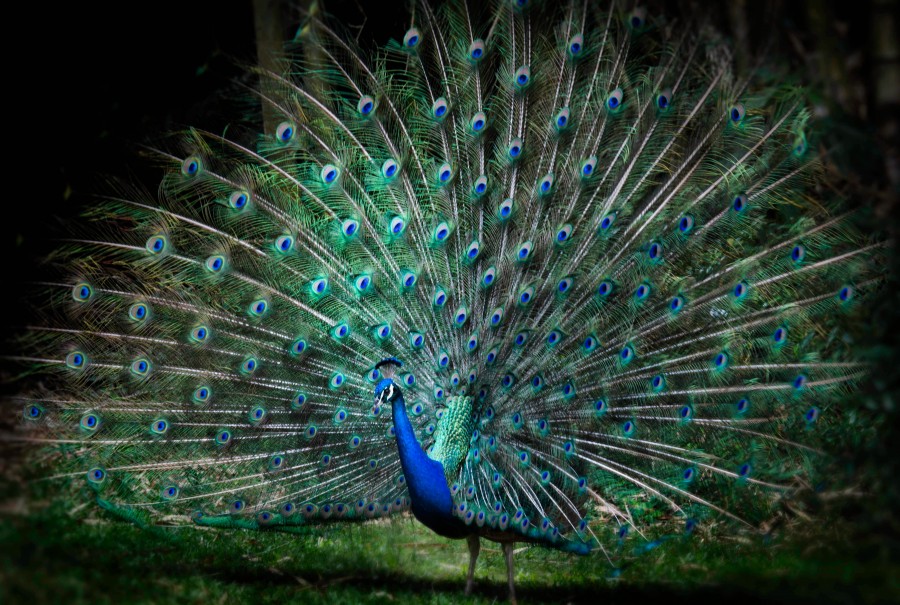
That had the extra added benefit of beginning to fade the distracting background out. Midnight has darkness AND blur in it – so the fade is in both focus and darkness. A nice, fanciful approach. 😉
One could think we’d be done at this point; but I think it’s the final steps that really make a photo ‘sing’. The subtle tweaks. The ‘presentation’ of your vision.
I’ll show you those tomorrow, in Part 2 of our Sunday Morning Process Fest!