Joe's Peacock, Teamwork and the Gift of Mosquitos – Part 2
Welcome back! Yesterday I started the processing tale of this bird’s tail (hehheh)… if you haven’t seen that and want to catch up, it’s here.
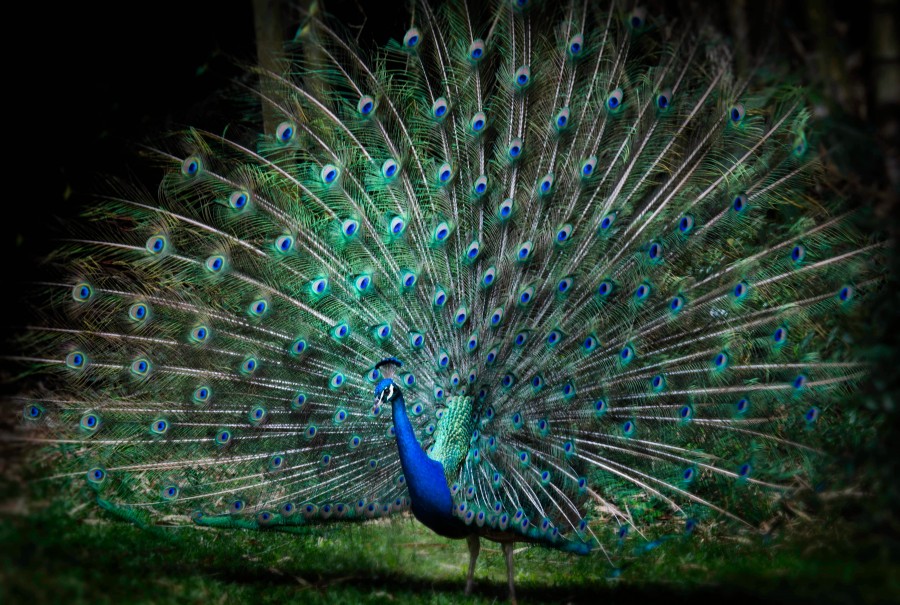
So far, I liked the direction, but it still needed a bit more work. So I turned to onOne Software’s Focal Point 2 to show Joe a twist on the basic vignette. He already knew about the judicious use of vignetting… but hadn’t tried Focal Point. I figured this was a good time to introduce him to a new tool that he had in his arsenal. After showing him how the focus bug worked and all the adjustments you can make, we both decided that we liked how Big Bird was beginning to stand out from his surroundings without even cropping, just kind of emerging from the shadows. It’s a subtle change from the last photo… this one mostly just deepened the transition into darkness at the outer edges of the feathers. It made the break from the background softer and clearer at the same time.
We sat back and looked at it for a minute. Got up and stretched our legs. Got another cup of coffee. Sat back down again with fresh eyes and a sense of glee. This was fun!
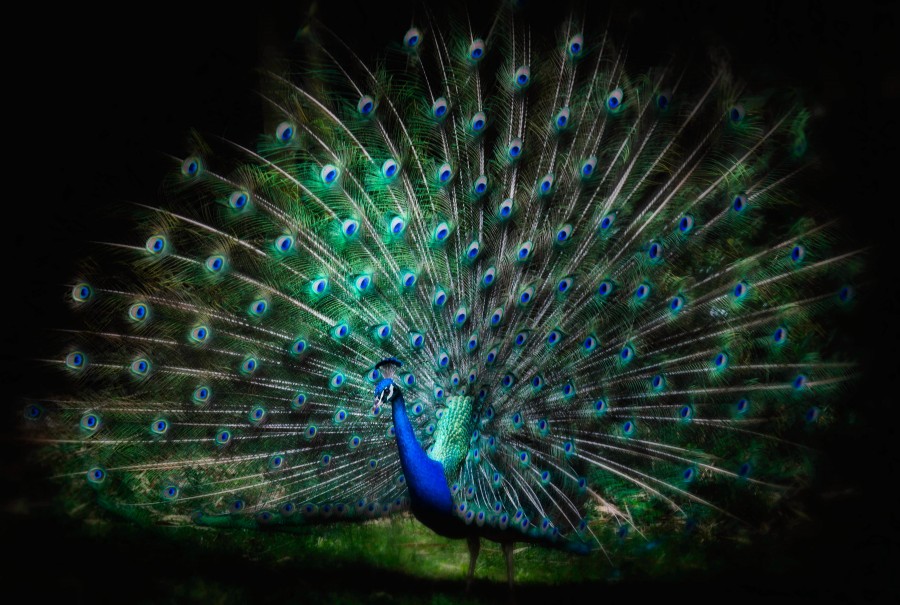
Joe he likes NIK’s Glamour Glow on some of his photos. More often, I opt for onOne’s Glows, because I like the variety; plus sometimes Glamour Glow looks a little dark and muddy to me sometimes. I wanted to show Joe what I meant by that latter, then promptly ate my own words! On this photo, when I cranked Glamor Glow WAY up – like almost all the way – and raised the Saturation (something I rarely do), it created a really cool look for Big Bird!
I still wanted to show Joe the difference between Glamor Glow and some of the onOne Glow effects, so over in onOne Software, I chose Hollywood Glow, dropped its opacity to around 20-30% and clicked Apply. I ended up liking them both, so showed him how to blend parts each both together. Then I used a layer mask to brush the “eyes” back in a little bit (those bright blue spots on the feathers), using the layer we had BEFORE adding the glows. I liked the “pop” and fun sense of drama that it gave.
We were both getting excited about this image! This was fun for me, because by slowing the process down and showing him comparisons and alternate ways of doing things, I was discovering new variations myself. He was stoked because he was learning cool, new tools to help him create his own vision of his work better. He’s got a really good eye, is great at vision (he’s a musician, which helps!) is getting awesome as composition – and just needs some new ways to express his ideas through his photos. So this was really fun for both of us.
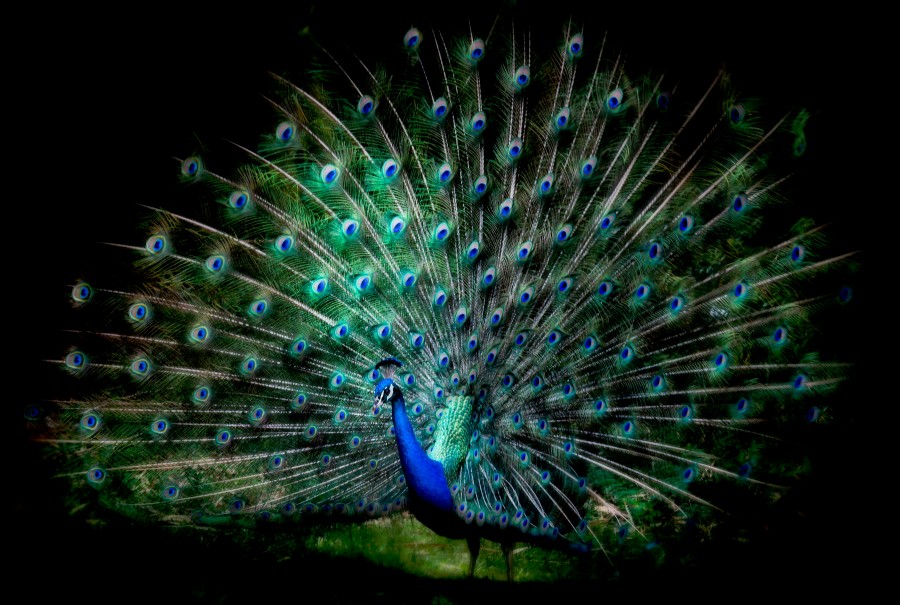
Finishing touches are so important in my world… I really like to spent time at this point, where alot of people think they’re done. So for this, I wanted to try a pop of contrast… and wanted to show Joe a simple way to use Curves in Photoshop. First, I made a duplicate layer in case I needed to blend anything back in. Then Image –> Adjustments –> Curves. I only needed to darken the darks and lighten the upper-mid tones a teensy bit to give it some edge. And didn’t need to blend any of the previous layer back in. Yay! Then we did the ONLY sharpening done to this image: High Pass Sharpening, applied just to the main part of the bird’s body and feathers. This is that completed layer:
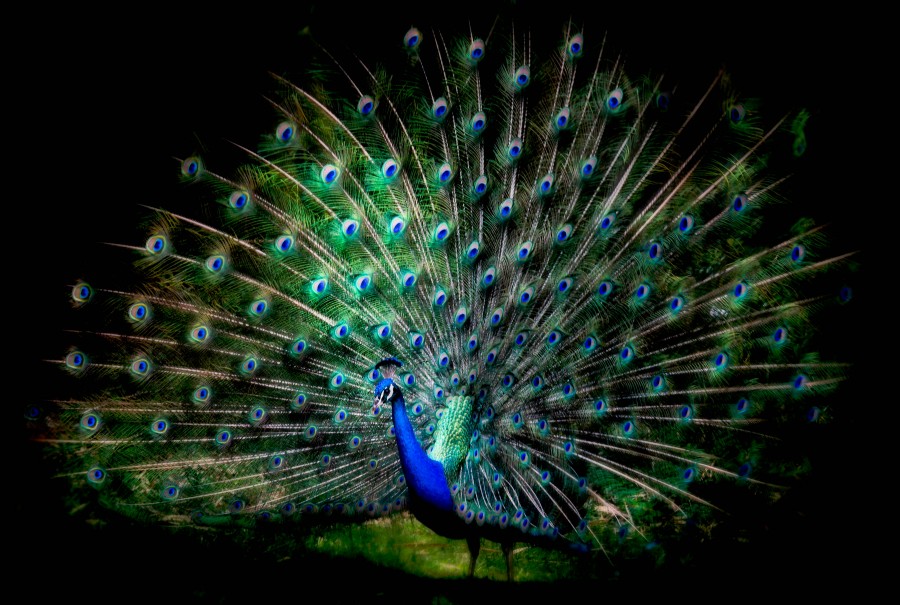
Finally, we gave it a kiss of NIK’s Skylight filter, for a fanciful touch of warmth:
And that’s the finished image! We spent a couple of really fun hours, created our first joint photo. He took the photo, I processed and showed him exactly how to do what I did, the result fit the vision we had for it in the first place… and it was all repeatable on the system he’s got set up on his computer.
We looked at each other a giggled. High-fived “Teamwork!”, and decided that a swarm of mosquitos had not been a bad thing after all! It gave us a super fun image to share and a great story to tell. And after dosing my swollen legs with Peppermint and Lavender essential oils – I didn’t even itch anymore. WooHooo!


