Macphun’s Intensify & Tonality Pro: Review
Find the latest prices and links:
Macphun makes other terrific products: but I’m only going to include these 3, since I’m most familiar with them. No sense in making up stuff just to hear myself talk!
1. Macphun’s Creative Kit (Best deal, most inclusive)
2. Macphun’s Intensify Pro (Best & least expensive product for detail, structure and overall image intensification)
3. Macphun’s Tonality Pro (My favorite!! Awesome black and white app with a stunning array of monochrome AND non black and white options!)
use the code: “KHUTT” for 10% off all Macphun Pro products!
NOTE: As always, I only recommend products I truly love. I also fully and honestly disclose that when you purchase from these links and use my code, I receive a small percentage of the sale. But seriously, there is NO obligation here! It’s FAR more important to me that you know I’m only sharing my opinion – that I do love these products – and if they float your boat too, here’s a way to get them at a discount. That’s the spirit of this whole thing.
OK, so… I’ve shared my experiments with them in the past… but now, after months of working with both Intensify Pro and Tonality Pro, I’m able to sum up what I like about them and how I use them consistently.
This is NOT intended to be a hard core, geeked out, every-single-detail sort of review. It IS about what I’ve found useful – and what you might find expansive about these two unique plugins from an artistic point of view.
NOTE: These are Mac-only products. Sadly, nothing for Windows yet!
What The Heck Do They DO?
First, here are the visual cliff notes on what Intensify and Tonality Pro actually do, using one simple image for comparison:
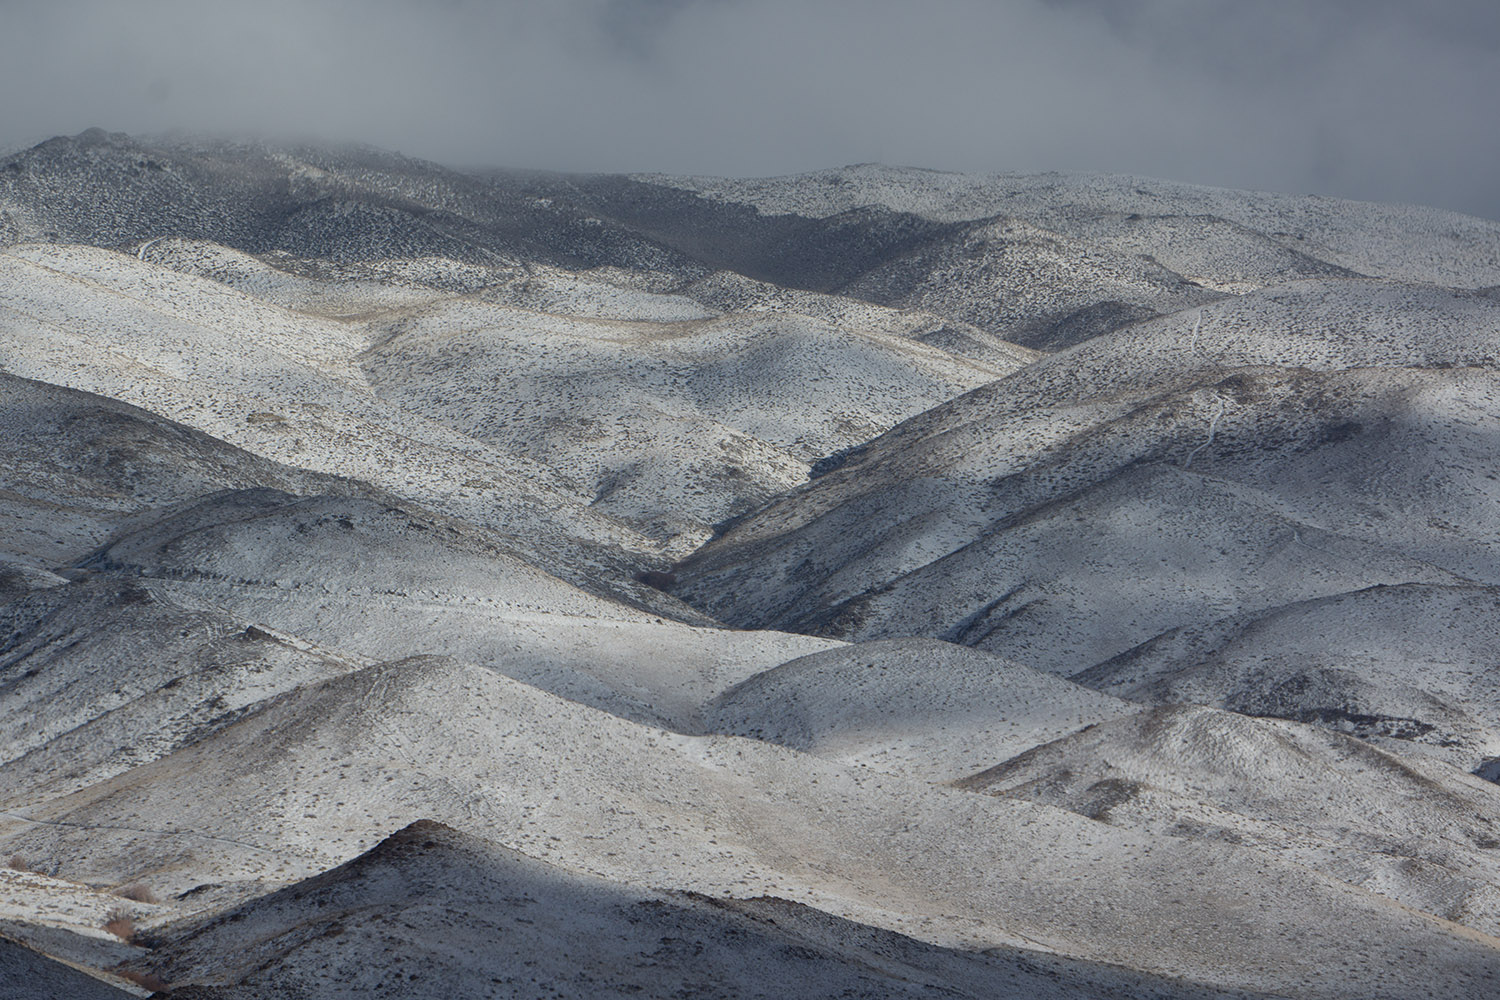
This is a RAW image, straight out of the camera:
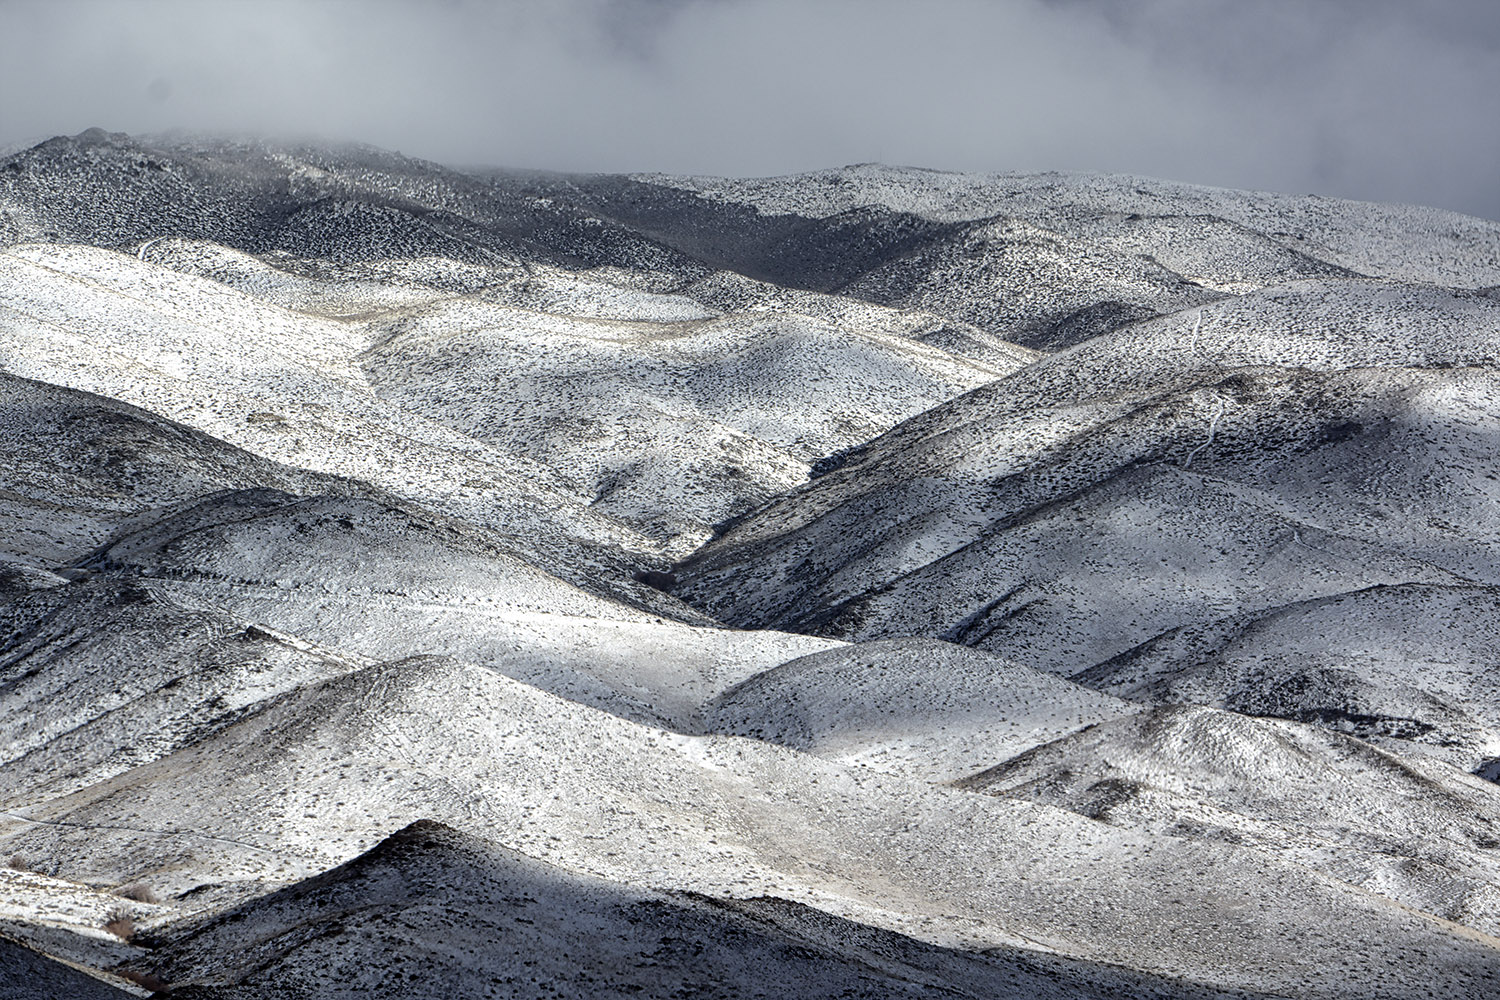
Here it is, “Intensified” with Intensify Pro. I prefer to giving images some nice pop and not go all crazy with the sliders, which you COULD easily do:
Finally, one of MANY ways I could process it as a black and white image in Tonality Pro:

Intensify Pro: Get Details FAST!
You should know that Intensify is a standalone app, but it also integrates with Lightroom and Photoshop. I use it as a plugin for Photoshop, which is where I do most of my processing.
One of the things all Macphun products that I’ve used have in common is that they’re FAST! Those sliders work in real time, every time.
Quite often, I use Intensify Pro as an alternative to Lightroom and Photoshop’s Clarity – as well a replacement for early Sharpening in my workflow. It allows me to control the details and structure so precisely, images never feel “overcooked” or “clunky”. While I like using Clarity in both Lightroom and Photoshop; sometimes it’s just too heavy-handed and doesn’t offer enough variation for me. With a few quick adjustments in Intensify Pro, I can get an image dialed in just the way I want to.
A GOOD PRACTICE: start out using the presets (you might want to dial them down before deciding if you like them or now: I think they can be a bit strong out-of-the-box)… then adjust from there.
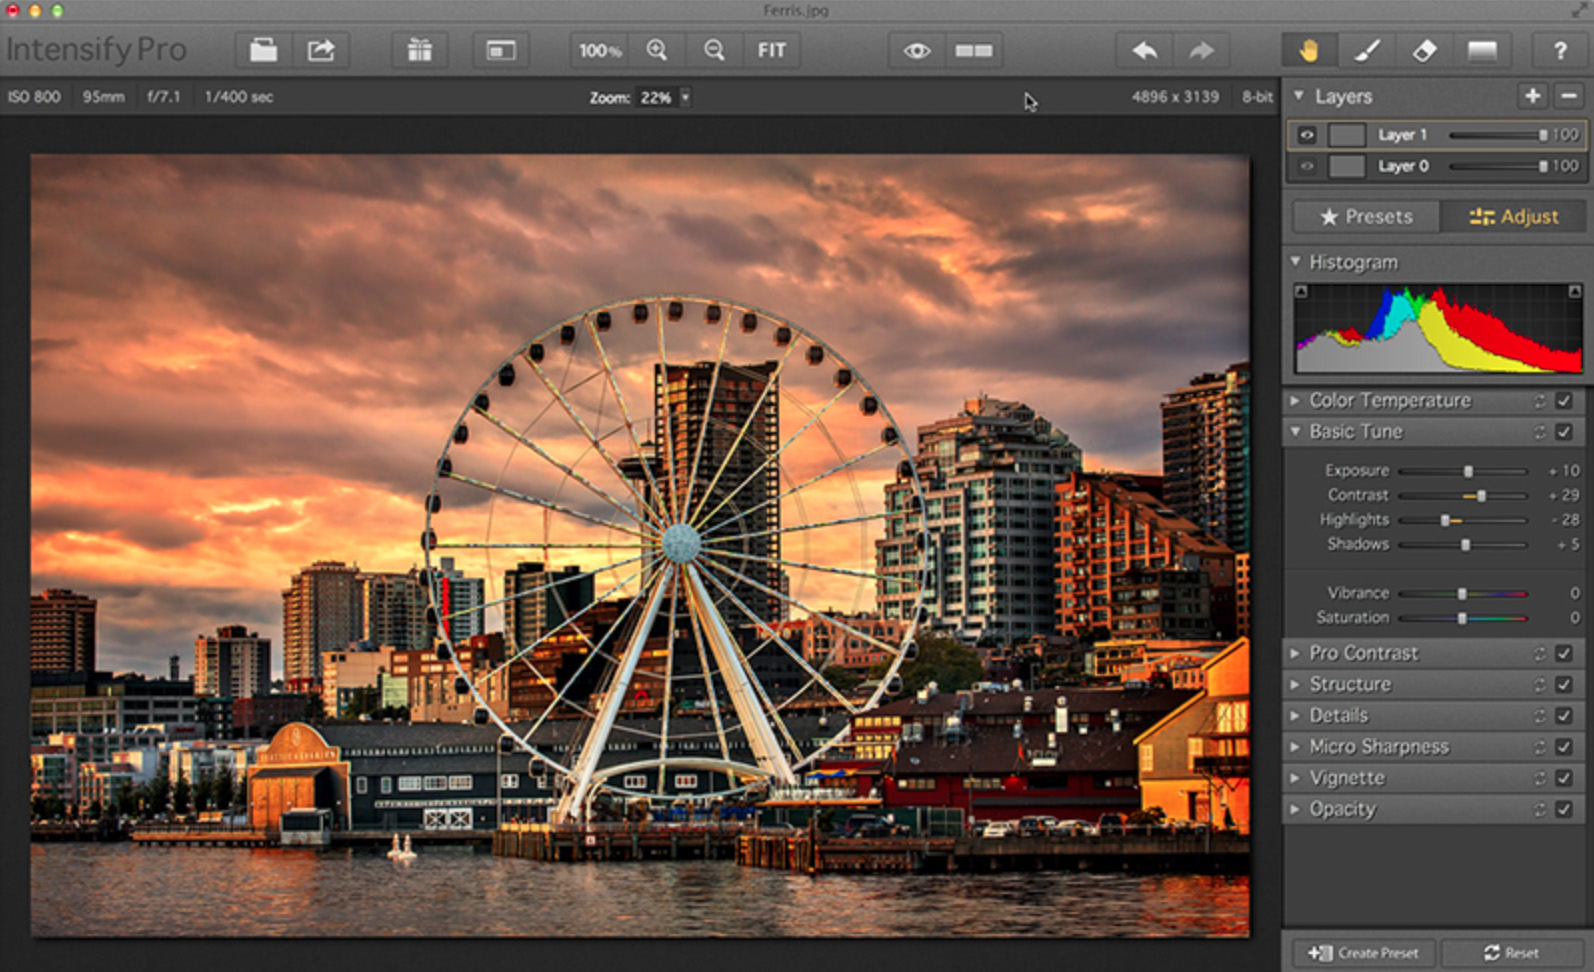
Here’s a screenshot of the interface:
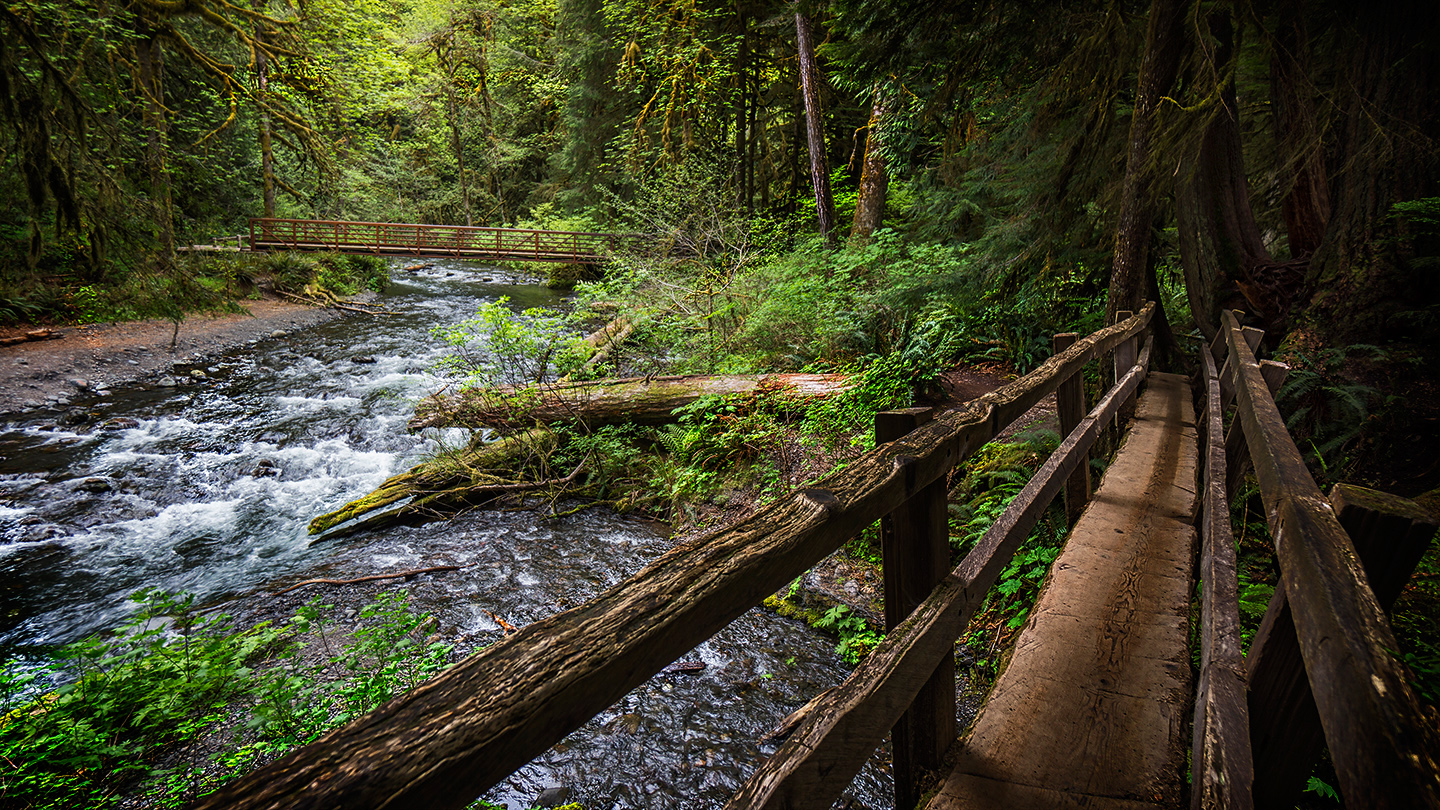
Try It On Its Own…
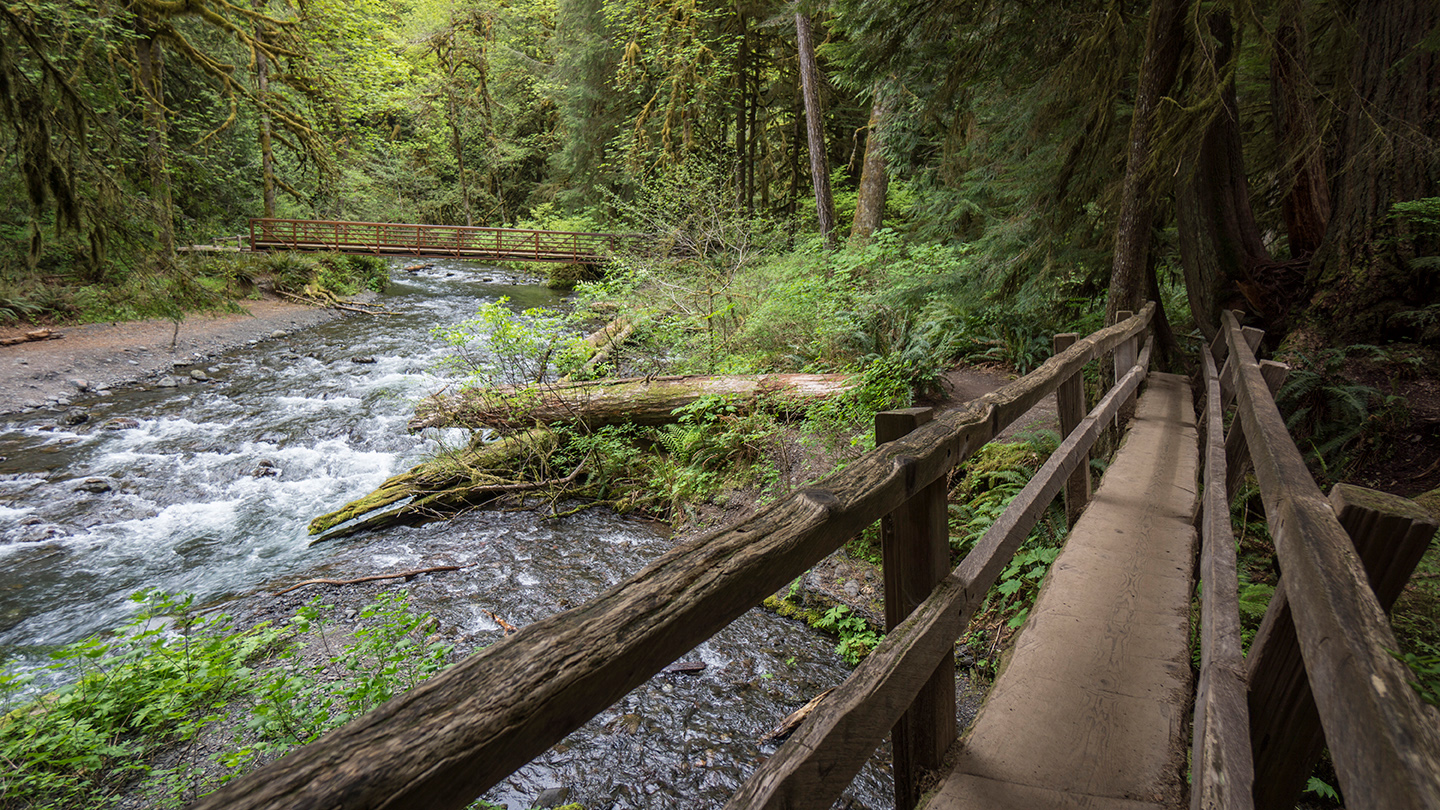
This forest image was a good example of an Intensify Pro “one-stop-shop.” The first is the original image, out of camera… for the second I used Intensify Pro’s “Elegant Softness” preset and was happy with the result without further processing.
Another thing to note: I’ve been able to cut down on the amount of sharpening I have to do to my images with Intensify. There’s something about the way the contrasts, micro contrasts, the detailing work together that make images SEEM sharper, but you don’t get that “crispy” feeling that sharpening can often give. Plus, my images feel like they have more depth now than they did before.
ORIGINAL:
SOFT ELEGANCE PRESET:
Or As Part of the Process:
Here’s an example of how I more commonly use Intensify Pro; in this case, it’s a vital PART of the process that includes many more steps.
Check out this post to see the before-during-after images!

For all the reasons I mention here and in the posts I’ve linked to… I highly recommend Intensify Pro!
Tonality Pro: My Fave!
Of all the Macphun products, I have to admit I get the most excited about Tonality Pro. I love working with black and white – but there is a dizzying array of NON-MONOCHROME options you can dig into that’ll keep you busy for weeks! In seconds, you can whip out a professional-looking black and white photo… AND do some crazy selective color stunts too.
In fact, shortly after Tonality came out, I made this video… just to show what I liked best about it, right off the bat.
My Favorite Features:
You can read Tonality Pro’s list of features on the Macphun website, but here are my personal faves:
• it’s FAST! This is one speed demon of an app.
• it’s easy – and intuitive – to learn. Everything is laid out thoughtfully and cleanly.
• it’s easy to use. The sliders and brushes give you incredible control and precision.
• it uses Layers for mega creativity.
• the selective color capability is off the hook! This would take HOURS in Photoshop: now you can do all kinds of color tricks in seconds!
• the fun factor – made possible, in part, by presets, sliders and speed.
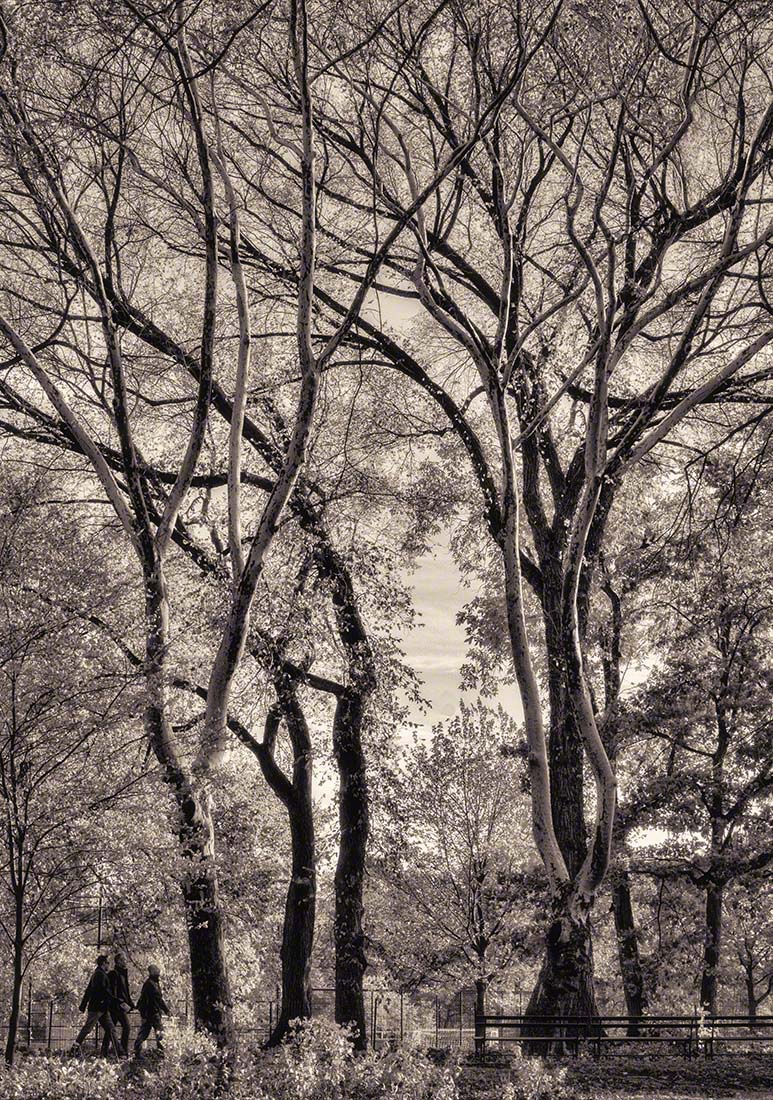
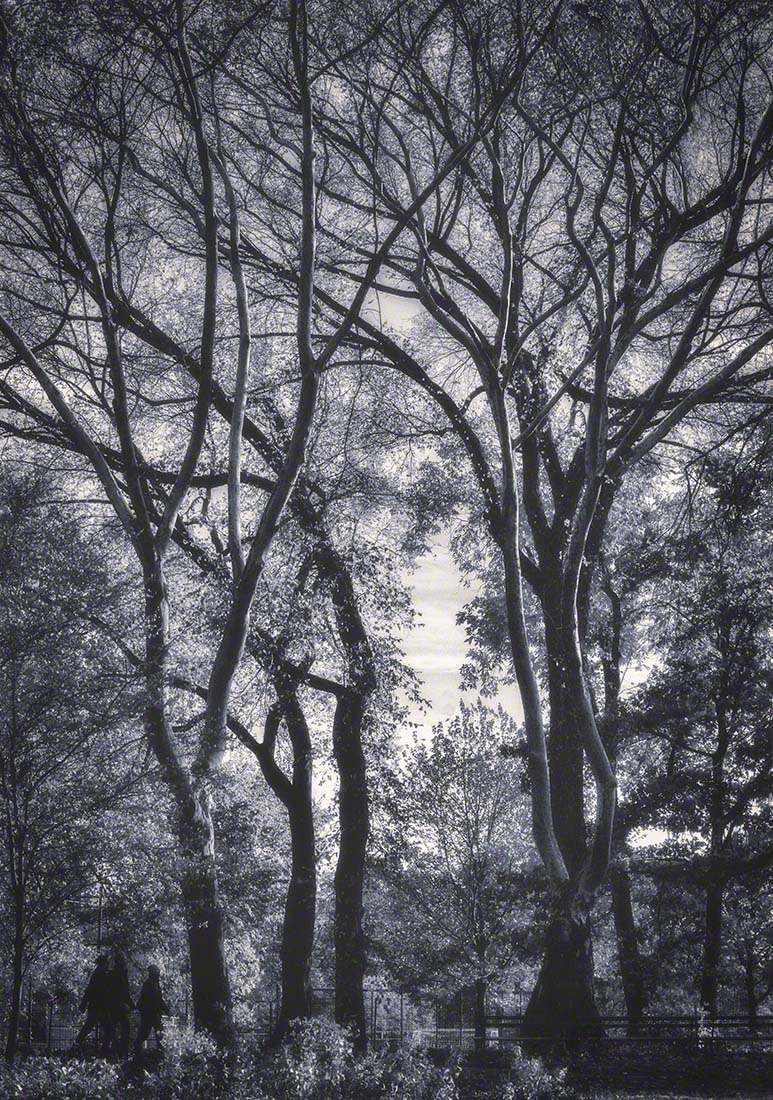
Create Black & White OR Color Images
What can I say? The color capabilities are unusual to say the least; your only limitation will be your imagination.
Each one of these were processed in Tonality Pro… even the color one!


Use Macphun’s Presets Or Make Your Own!
Out of the box, Tonality Pro has great presets. I’d highly recommend you start there; you’ll be amazed at the stunning variety of effects that are built in. Next thing you know, you’ll start coming up with your own!
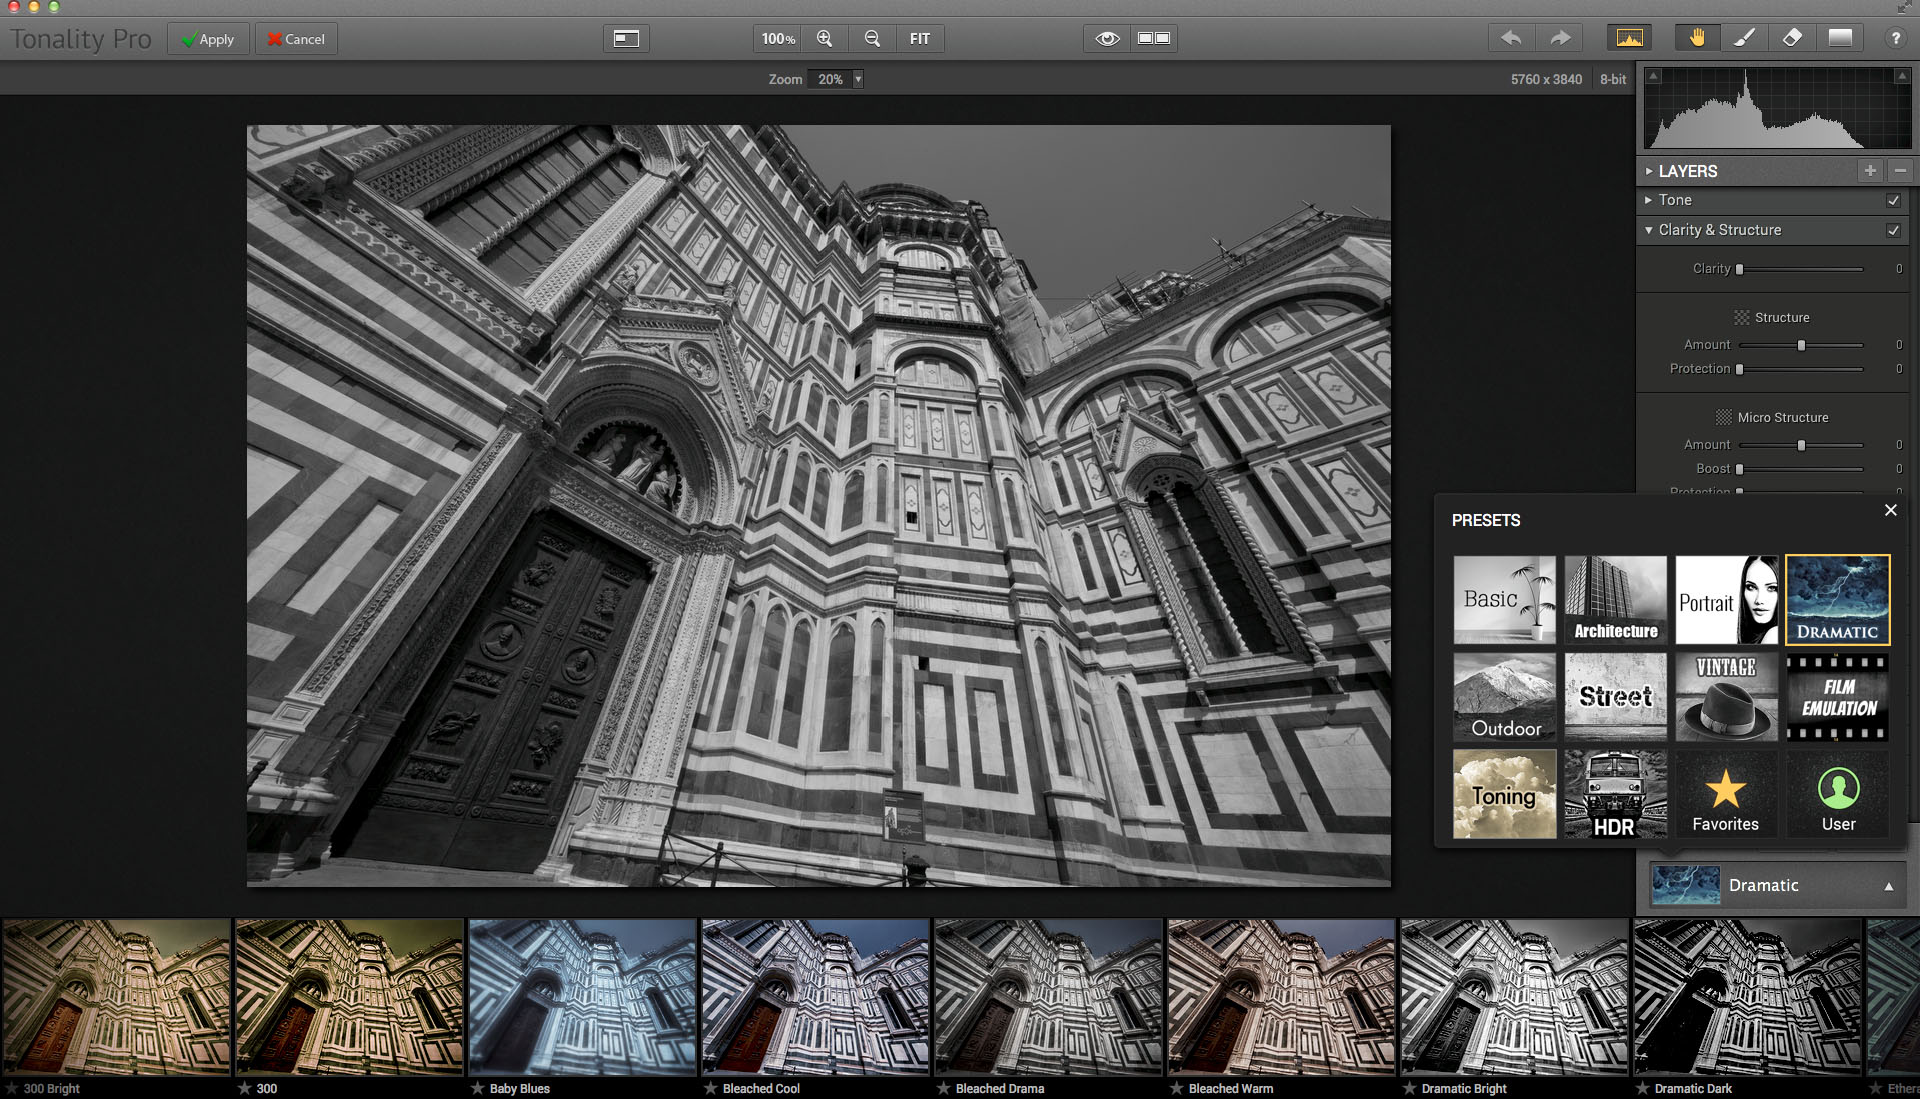
Here’s just one example of what you’ll see in the interface. Here, I’ve chosen the “Dramatic” preset ’cause, well, I’m me. 😉
You can see the previews in thumbnails across the bottom… lots of creative ideas to get the juices flowing.
TIP: If you have a photo with strong lines, shapes and contrast that doesn’t quite float your boat in color; try it in black and white. It might just sing!
Then, if you want to really go crazy, you can make your OWN set of presets, like I did in this bunch:

Check out presets & other goodies from top pros in the macphun marketplace!
The Webinar
Finally, Macphun asked me to do a webinar on Tonality Pro as part of their free, ongoing educational series.
If you’re like me, you love some free education. I always figure if I walk away with one good new tool – it was worth it.
Who knows, you might walk away with two!
Enjoy – and get your creative on!